
Getting to Know the Suir Valley Cycling Route
A beginner-friendly introduction to the route, covering key landmarks, rest stops, and what to expect along the way.
Read MoreA quick check before you ride can save you from trouble on the road. We'll walk you through the essential inspections every cyclist should do — whether you're heading out for a 5-kilometer spin or a full day exploring the Suir Valley.
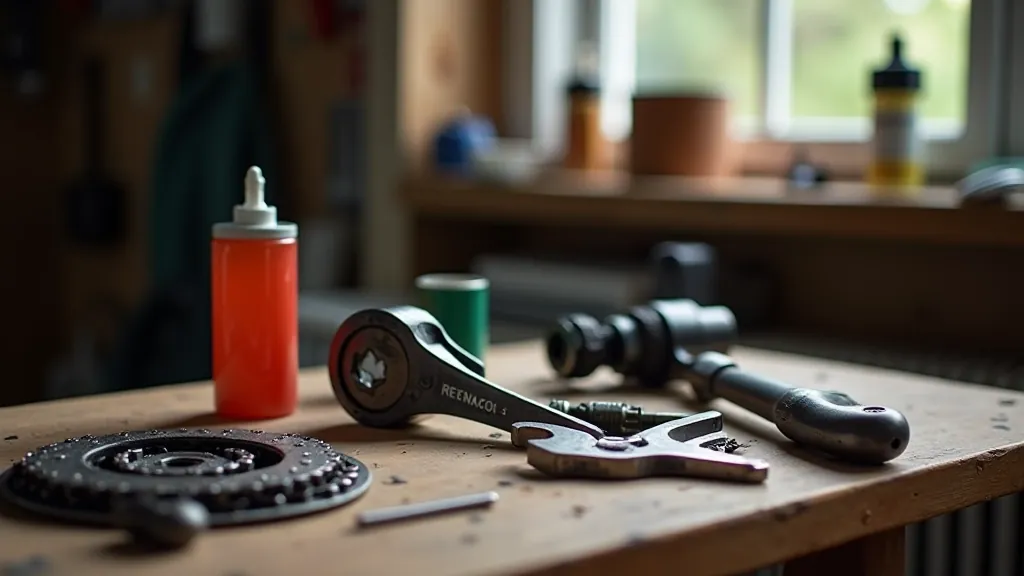

You don't need to be a mechanic to keep your bike in good shape. In fact, most common problems are easy to spot if you know what to look for. Flat tires, loose chains, and worn brake pads don't just ruin your ride — they can be dangerous.
Spending five minutes checking your bike before you leave home means you'll spend your actual ride time enjoying the Suir Valley scenery instead of pushing a broken bike home. We're talking about simple checks that anyone can do, right in your garage or at the trailhead.

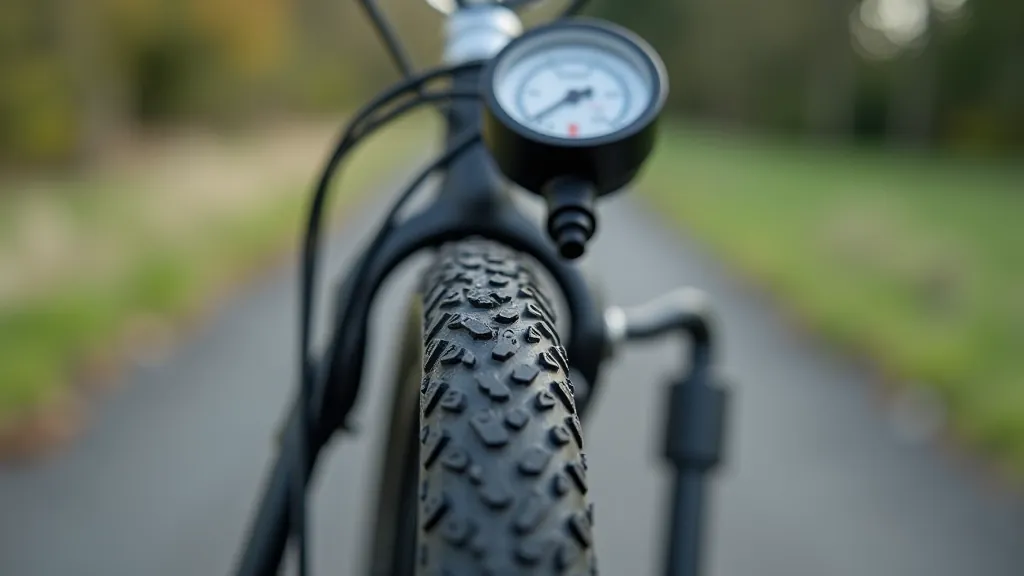
Start with the tires because you'll notice a flat immediately when you're already out. Press your thumb into each tire — it should have some give, but not feel mushy. If your tires look flat, grab a pump and inflate them to the pressure listed on the tire sidewall. Most hybrid bikes need 50-65 PSI, but check yours specifically.
Look for cuts, thorns, or embedded glass in the tread. We've pulled bits of flint out of tires before rides and avoided blowouts because of it. Spin each wheel slowly and watch the tire. Does it rub against the frame or brakes? If it does, don't ride it — something's misaligned.
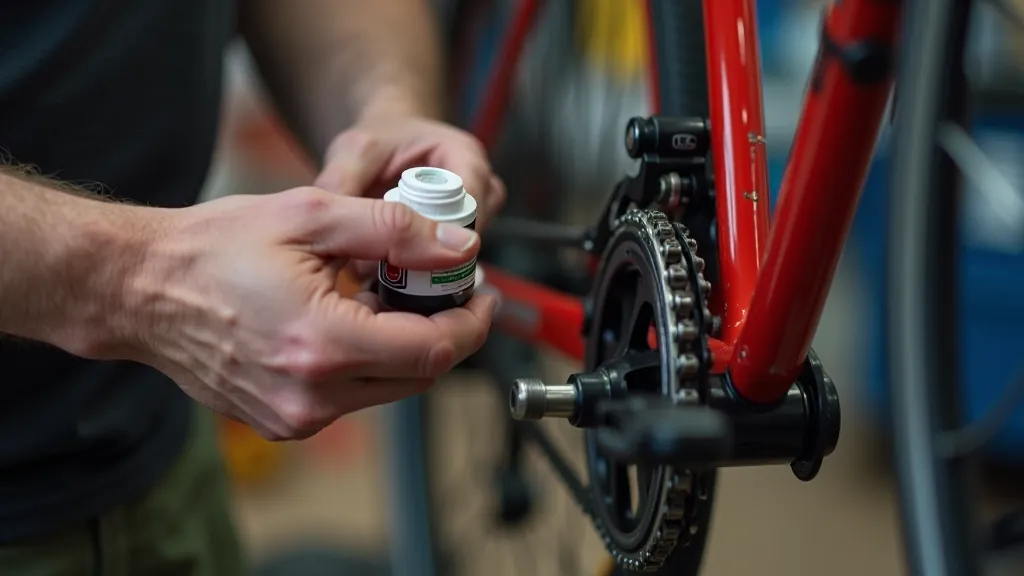
A clean chain is a happy chain. Grab a rag and run it along the chain while you spin the pedals. You'll see how much dirt builds up. If the chain looks caked with grime, wipe it down — dirt causes wear and sluggish shifting. After cleaning, apply a small amount of bike-specific chain lube. You don't need much. Spin the pedals a few times to work it in, then wipe off any excess.
While you're there, check if the chain skips or makes noise. A noisy chain often means it's dry. If it skips when you're pedaling hard, the chain might be worn out or the gears need adjustment. These aren't emergencies, but they're worth knowing about before a long ride.
Test the chain tension by pulling up on it midway between the cogs. It should move about half an inch. Too tight and it'll wear faster. Too loose and it'll slip.
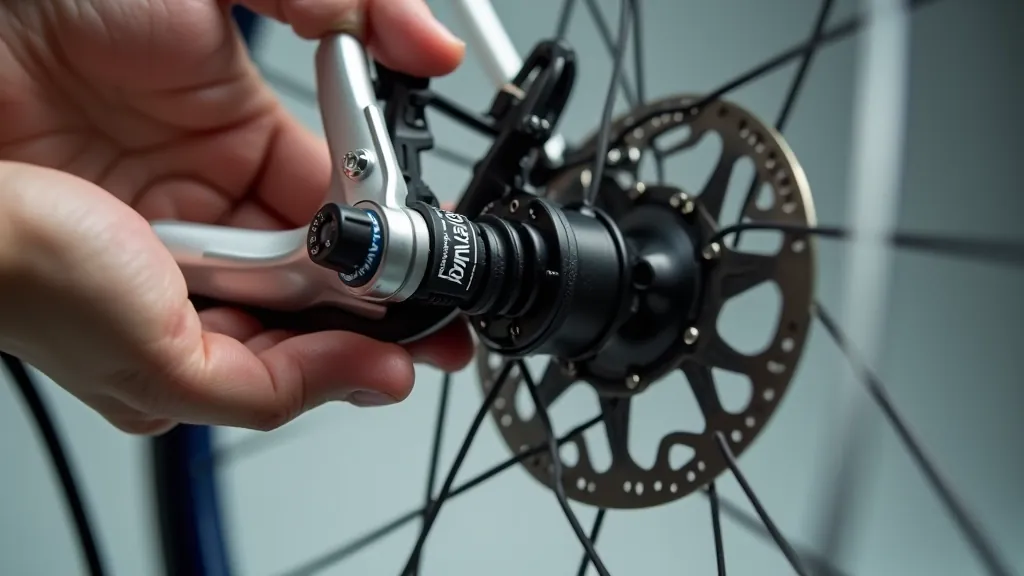
Brakes are non-negotiable. Squeeze each brake lever — they should feel firm and stop the wheel quickly. If the lever pulls all the way to the handlebar before the wheel stops, your brake pads are likely worn. Don't ignore this.
Look at the brake pads themselves. They're the small blocks that squeeze against the wheel. If they're worn down to a thin line, replace them before your next ride. Worn pads don't grip well, especially in wet conditions. You'll find replacement pads at any bike shop for under €15.
Spin each wheel and watch the brake pads. They should be evenly positioned and not rub the wheel rim when you're not braking. If one pad drags constantly, the brake needs adjustment.
You're almost done. Grab the frame and try to wiggle the front wheel side to side. It shouldn't move. Check the handlebars too — they should turn smoothly without grinding noises. Squeeze the seat post. It shouldn't slip or move. These checks take seconds and catch loose components before they become problems.
Give the pedals a spin. They should rotate freely without catching or grinding. Listen for any unusual sounds — creaking, clicking, or grinding usually means something needs attention.
Finally, check your lights if you have them. Press the button and make sure they work. Many cyclists forget this and end up riding in the dark without realizing it.

These checks take five minutes, maybe less once you've done them a few times. They're the difference between a smooth, confident ride through the Suir Valley and a frustrating breakdown halfway through. Most problems you'll catch are minor — a low tire, a dry chain, worn brake pads. Catch them early, fix them easily, and you'll have many more comfortable rides ahead.
Keep your bike in good shape and it'll keep you safe and happy on the road. That's the deal. It's straightforward, and it works.